- SOLARWATT Battery & Inverter vision
- Commissioning
- Inverter vision three / Inverter vision max
Inverter vision three / Inverter vision max
Related Documents
- Turn on the GRID AC fuse
- Turn on the AC fuse backup (if required by local regulations and available)
- Turn on the DC switch on the inverter
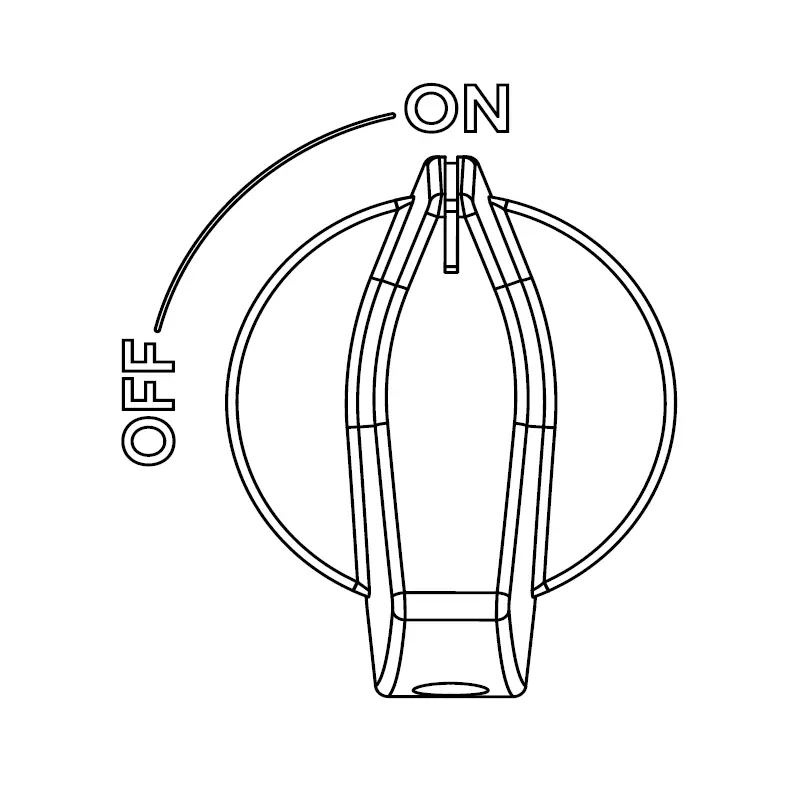
DC Switch ON

Commissioning the Inverter vision three
For information on how to use the inverter display, see Setup and Scope of Delivery.
Structure of the inverter menu tree, including explanations can be found here.
The inverter displays " Starting...". After that , you will be in the "Power On Set" menu .
- Set language
- Set the country code ( Safety menu item)
- Set the time and date ( Date & Time menu item)
Caution! It is important to set the date and time correctly so that the monitoring data is sent to the SOLARWATT Manager with the exact timestamp.
- Press the Confirm button (checkmark) on the inverter display for 3 seconds
- Select Start
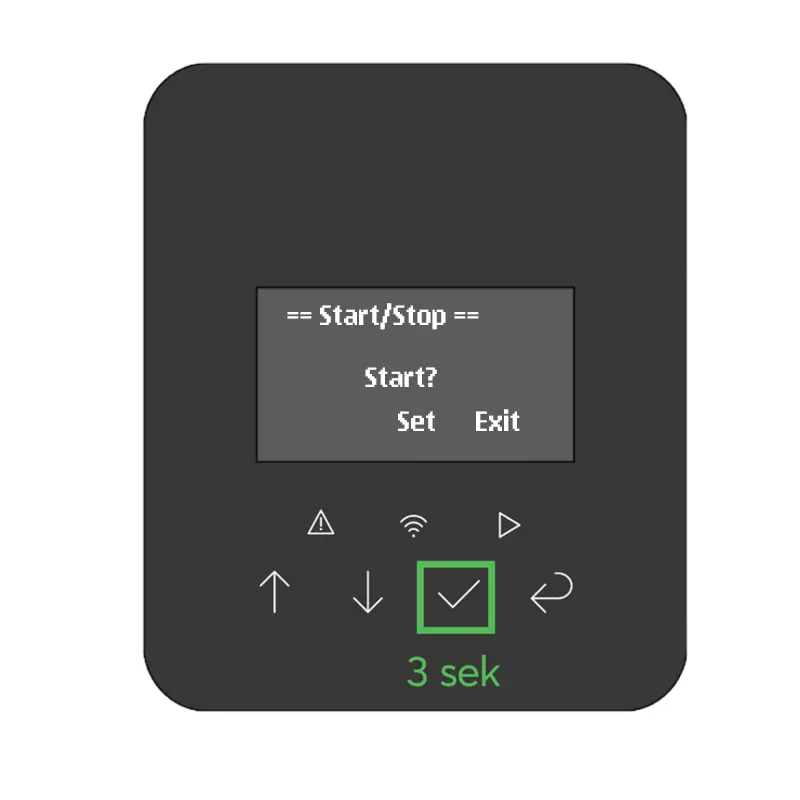
Start the inverter
The inverter is waiting for the battery to be connected and displays ...Waiting
- Turn on the DC switch on the battery (top pack)
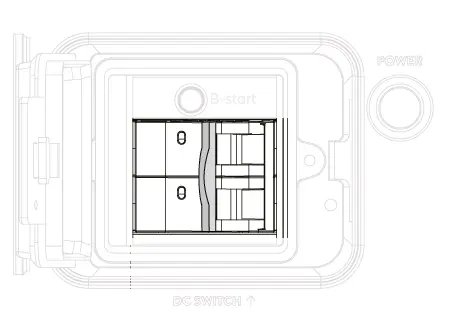
DC Switch ON
- Press the POWER button on the battery (top pack)
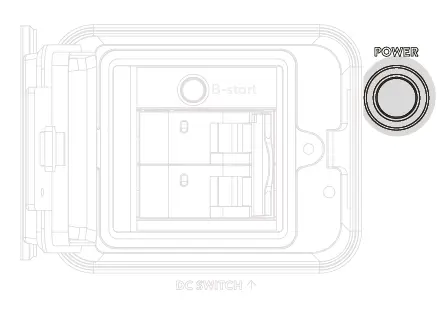
Power Button
The inverter establishes communication and starts the test function (the seconds count down under " Checking").
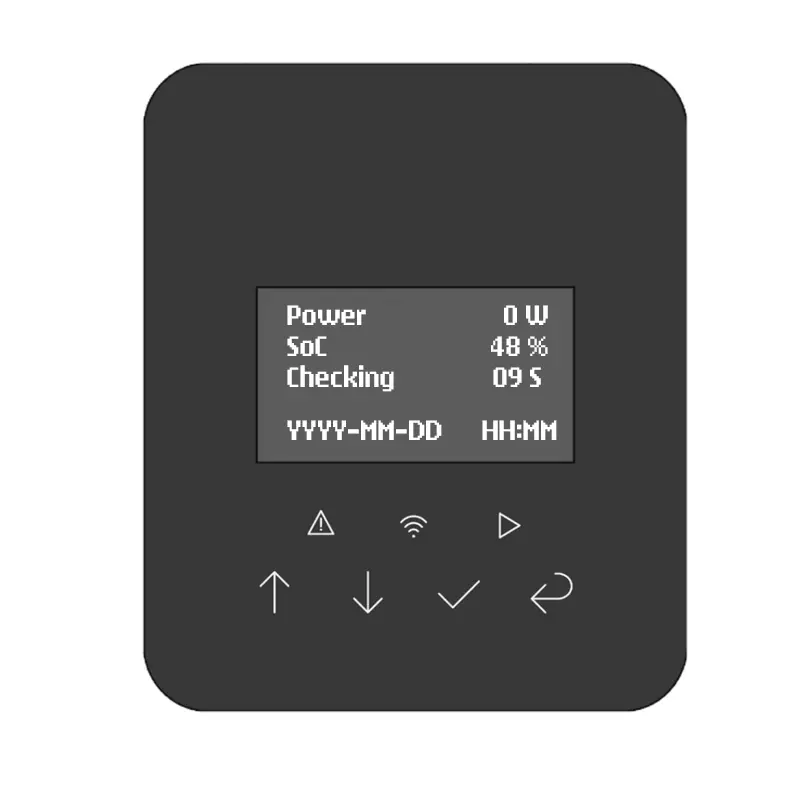
Inverter Test Function
The inverter returns to normal operation.
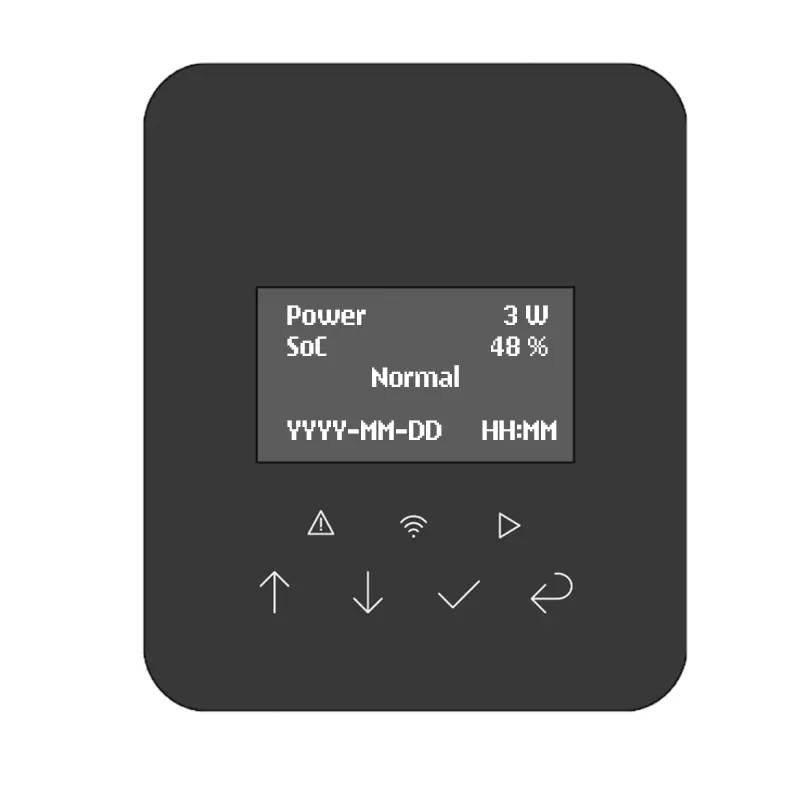
Inverter Normal Operation
- Use the SOLARWATT Pro app to check for and install software updates
Enable Power Limitation
- Inverter vision three: via the CLS control box as a controllable load within the meaning of Section 14a of the German Energy Industry Act (EnWG)
- Inverter vision three: via remote control of feed-in-power using a radio-controlled receiver
- Inverter vision three: Throttling to 60% under the “Solar Peak Law”
Inverter vision three: Commissioning as a Standalone PV Inverter
If you want to operate the Inverter vision three as a PV-only inverter without a battery, you must disable the battery via the settings on the inverter's display.
Proceed as follows:
Inverter vision three: Commissioning as a Second Inverter Without a Battery
If you are installing the Inverter vision three as a second inverter when expanding a PV plant, you must deactivate the meter via the inverter's display.
To do this, follow the steps shown in the video below.
ATTENTION: Since the additional inverter is not connected to a battery, you must also deactivate the disable the battery via the settings on the inverter’s display.
Commissioning the CLS Control Box on the Inverter vision three
To set up the CLS control box, follow these steps:
- Use the arrow keys to navigate to the Settings menu , then to the Feature menu , and select “
” (if prompted for a password, enter 0000) - In the “Feature” section , use the arrow keys to select “Ripple Control” and then “Enable”
- Confirm the setting
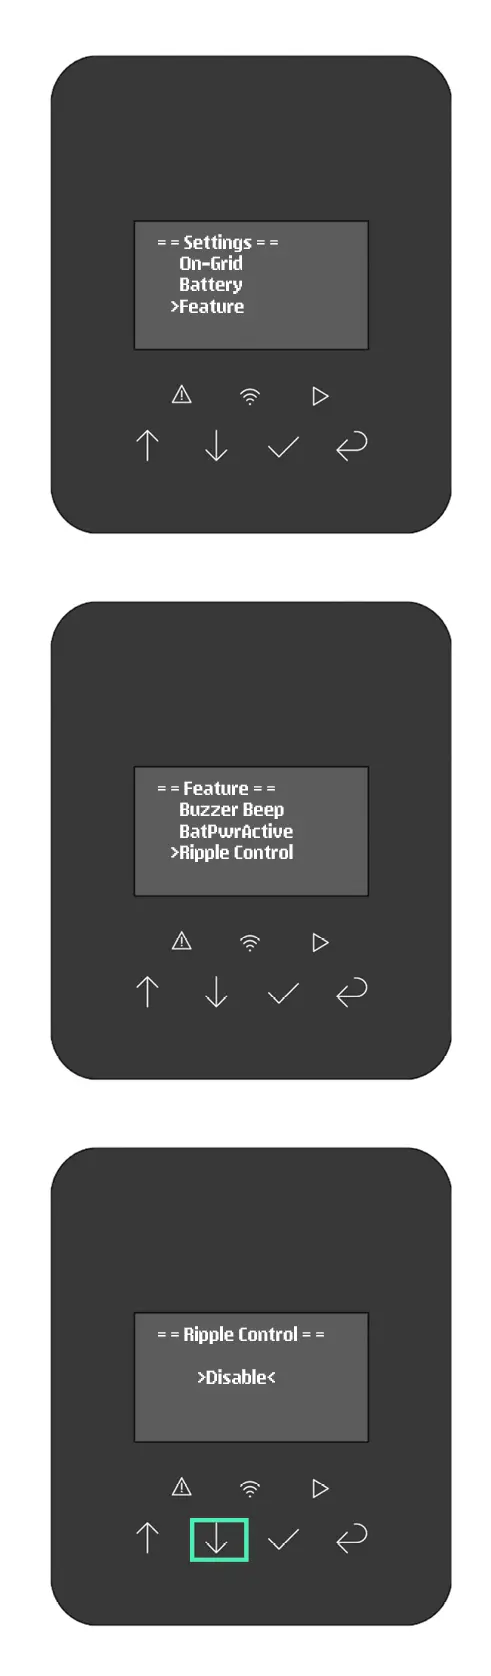
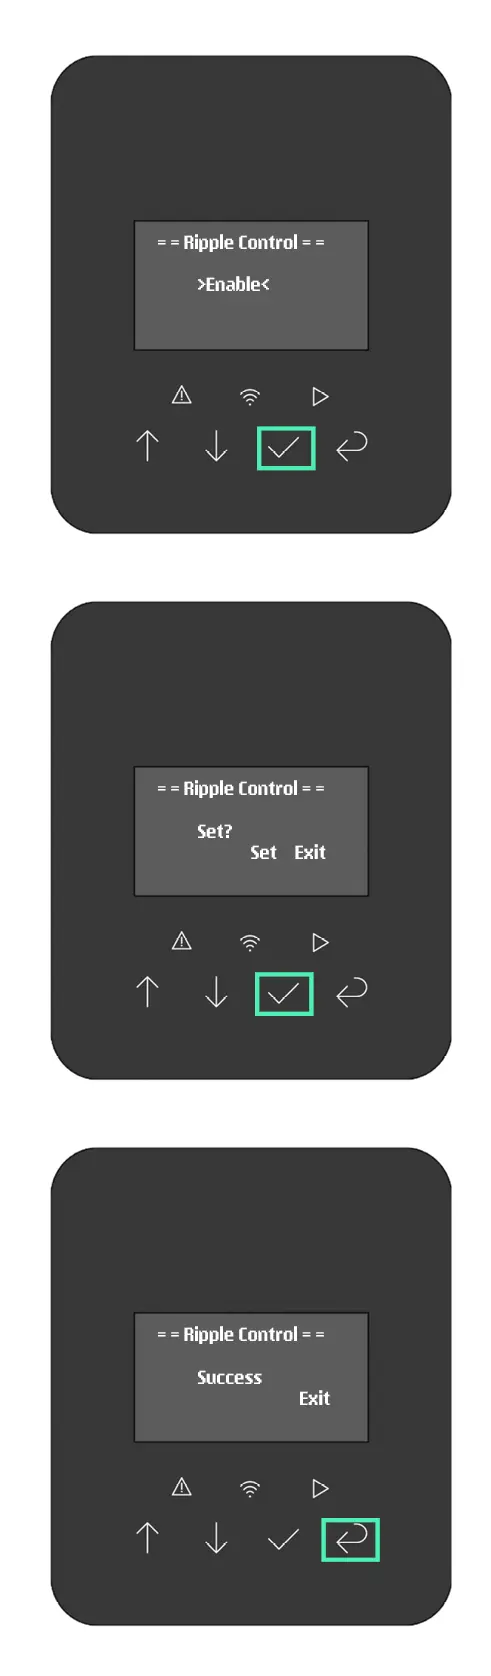
- Verify proper operation in accordance with the CLS control box instructions and the grid operator’s specifications
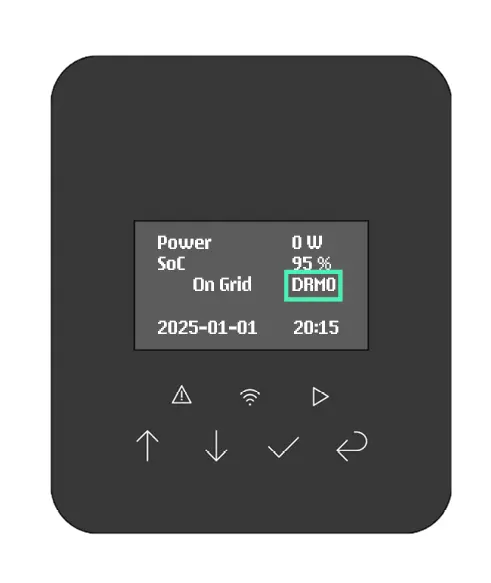
If a control function is active, it is displayed on the inverter’s screen as follows:
DRM0: Curtailment of grid power draw from Battery vision to a maximum of 4.2 kW
Commissioning the Radio Remote Control Receiver on the Inverter vision three
To set up the wireless master control receiver, follow these steps:
- Use the arrow keys to navigate to the Settings menu , then to the Feature menu , and select “
” (if prompted for a password, enter: 0000) - In the "Feature " section , use the arrow keys to select " Ripple Control " and then "Enable"
- Confirm the setting
- Check that the system is functioning properly according to the radio remote control receiver’s instructions or the utility company’s guidelines
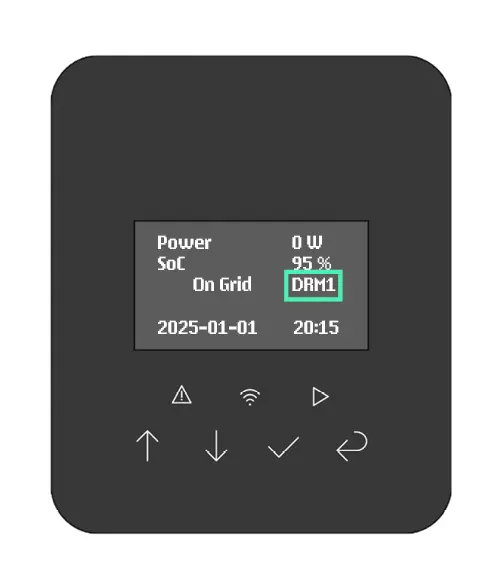
If curtailment is active, it is displayed on the inverter’s screen as follows:
DRM1: Curtailment of feed-in to 60% is active
DRM2: Curtailment of feed-in to 30% is active
DRM3: Curtailment of feed-in to 0% is active
60% Throttling: "Solar Peak Law" on the Inverter vision three
If a SOLARWATT Manager is integrated into the system, you do not need to make any settings on the inverter for curtailment. The curtailment is then configured via the Manager SmartSetup under the "PV plant" SmartSetup step (at 1:03 in the video).
If NO SOLARWATT Manager is integrated into the system, proceed as follows to configure the curtailment: